The DIY Guide to Fixing Cracks in Drywall: An In-Depth Tutorial
Master the Art of Drywall Repair: A DIY Guide to Fixing Wall Cracks
Drywall, the ubiquitous material in modern home construction, offers a smooth, paintable surface that makes interiors appear sleek and finished. However, it's not immune to damage.
Over time, homeowners often encounter the challenge of fixing cracks in drywall, a common issue that can mar the aesthetics of any room. This comprehensive guide dives into the DIY approach for repairing cracks in drywall, offering step-by-step instructions, tips, and the best way to ensure lasting results. However, for the best result opting for
professional help is always recommended.
Understanding Cracks in Drywall
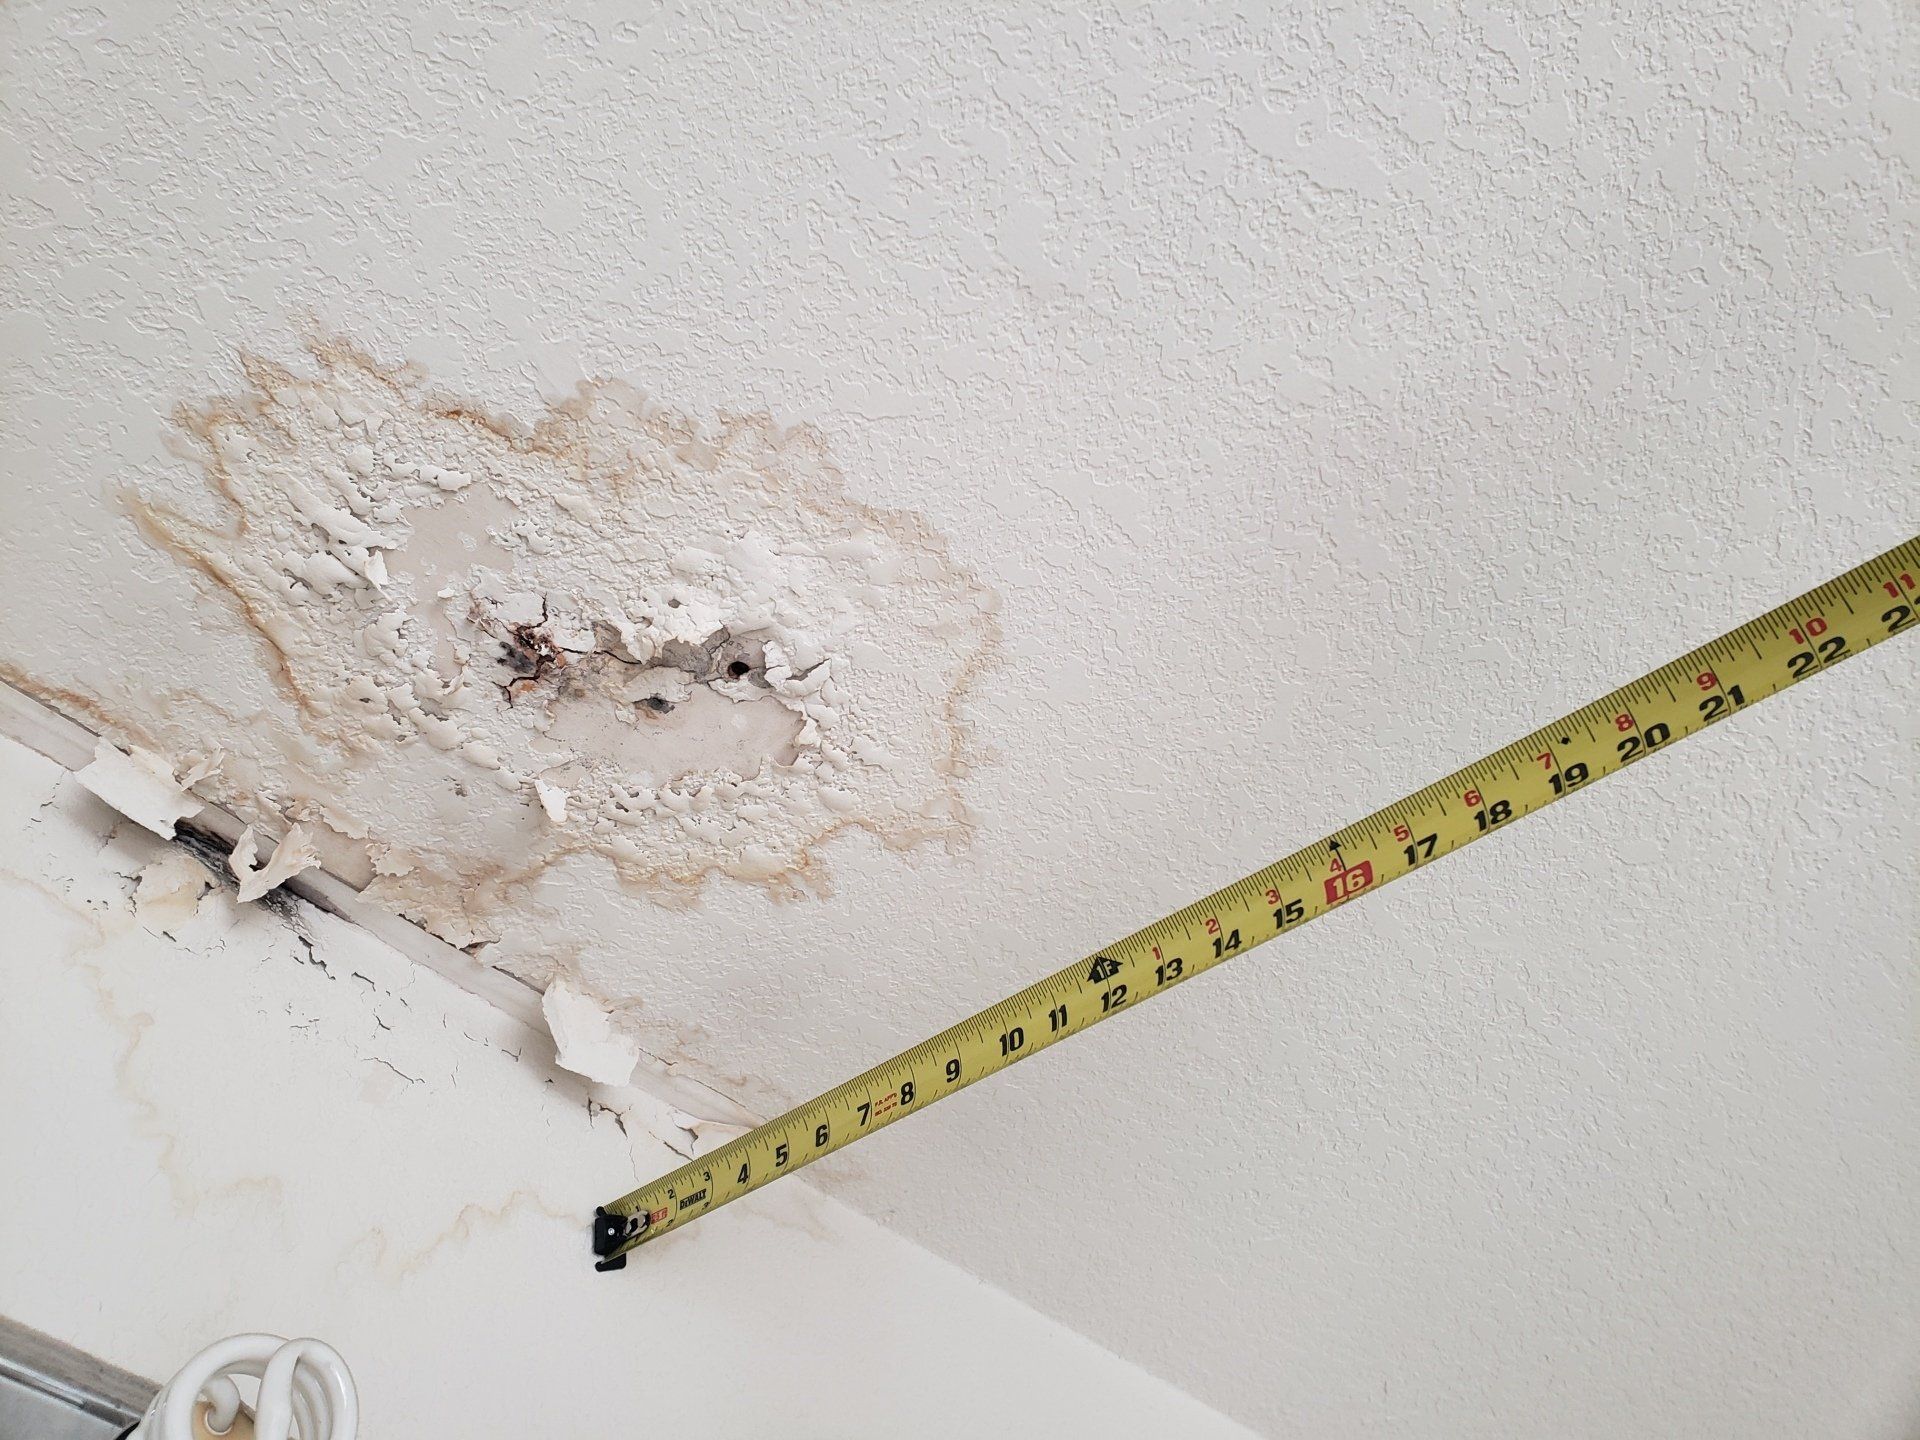
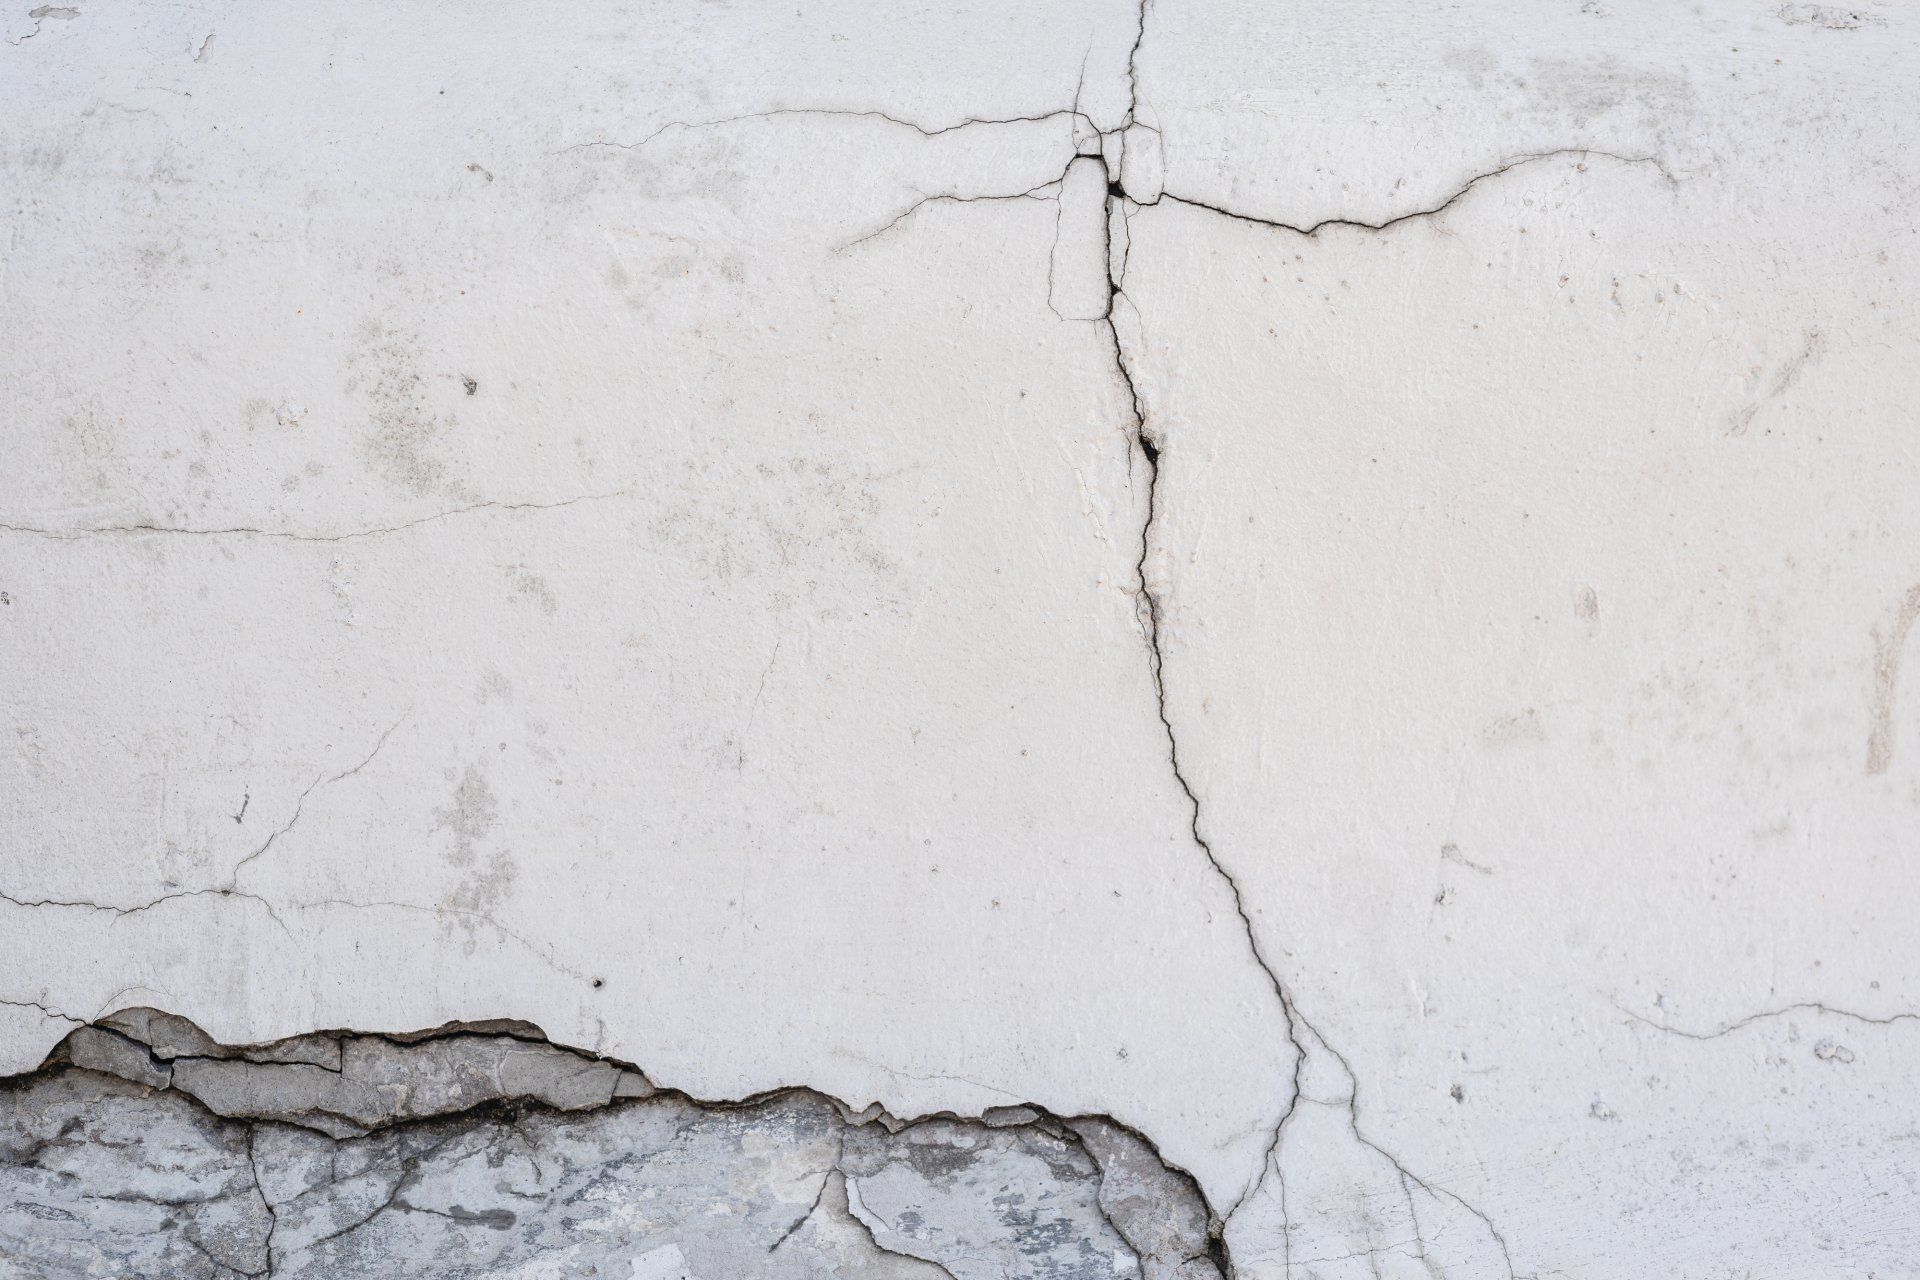
Before diving into repairs, it's essential to understand why cracks in drywall occur. Several factors can contribute, including house settling, moisture damage, and physical impact. While minor cracks might be purely cosmetic, significant ones could indicate deeper structural issues. Therefore, identifying the cause is crucial to prevent recurrence.
Preparing for Repair
The first step in repairing cracks in drywall is to prepare the area. This involves cleaning the crack of any loose material or debris. A vacuum with a brush attachment can effectively remove dust, ensuring the filler adheres properly.
The Best Way to Fix Cracks in Drywall
The best way to fix cracks in drywall involves a few key steps, materials, and tools. Here's a breakdown of the process:
Step 1: Widen the Crack
Counterintuitive though it may seem, creating a slightly wider base within the crack can help the filler material bind more effectively. Use a utility knife to gently widen the crack, ensuring not to cause further damage to the surrounding drywall.
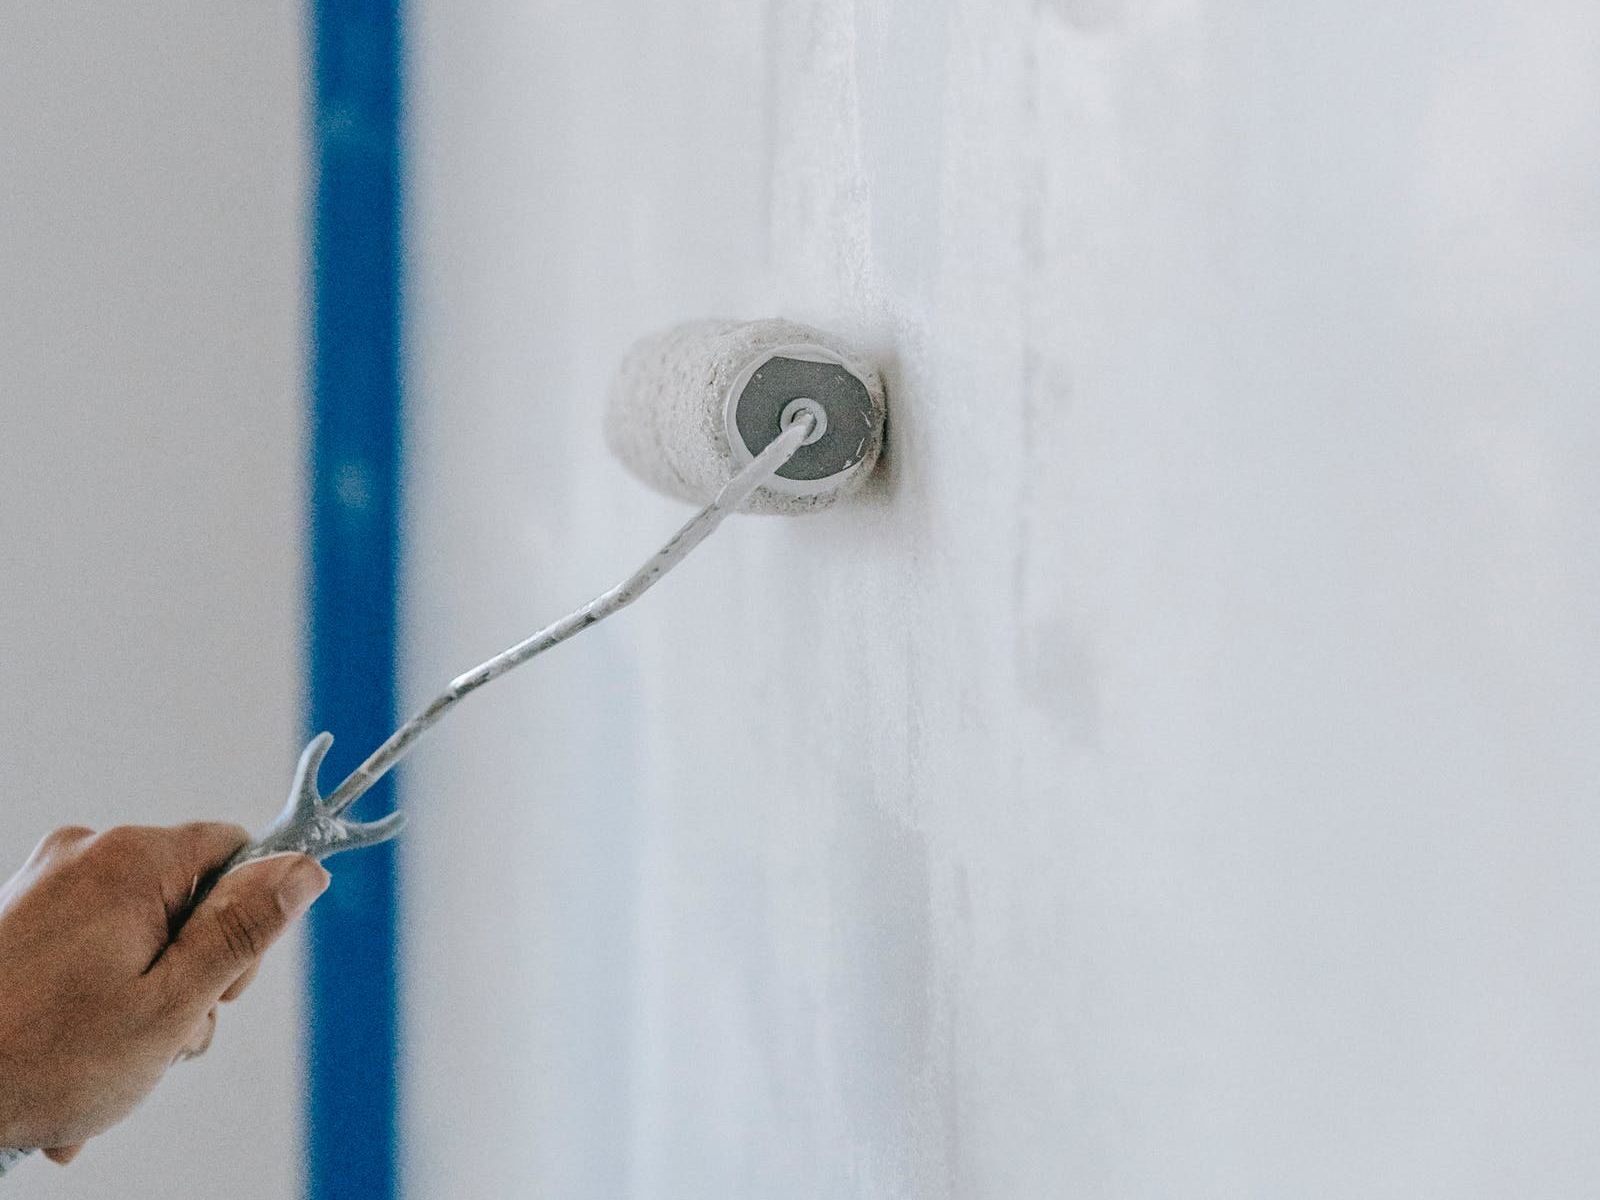
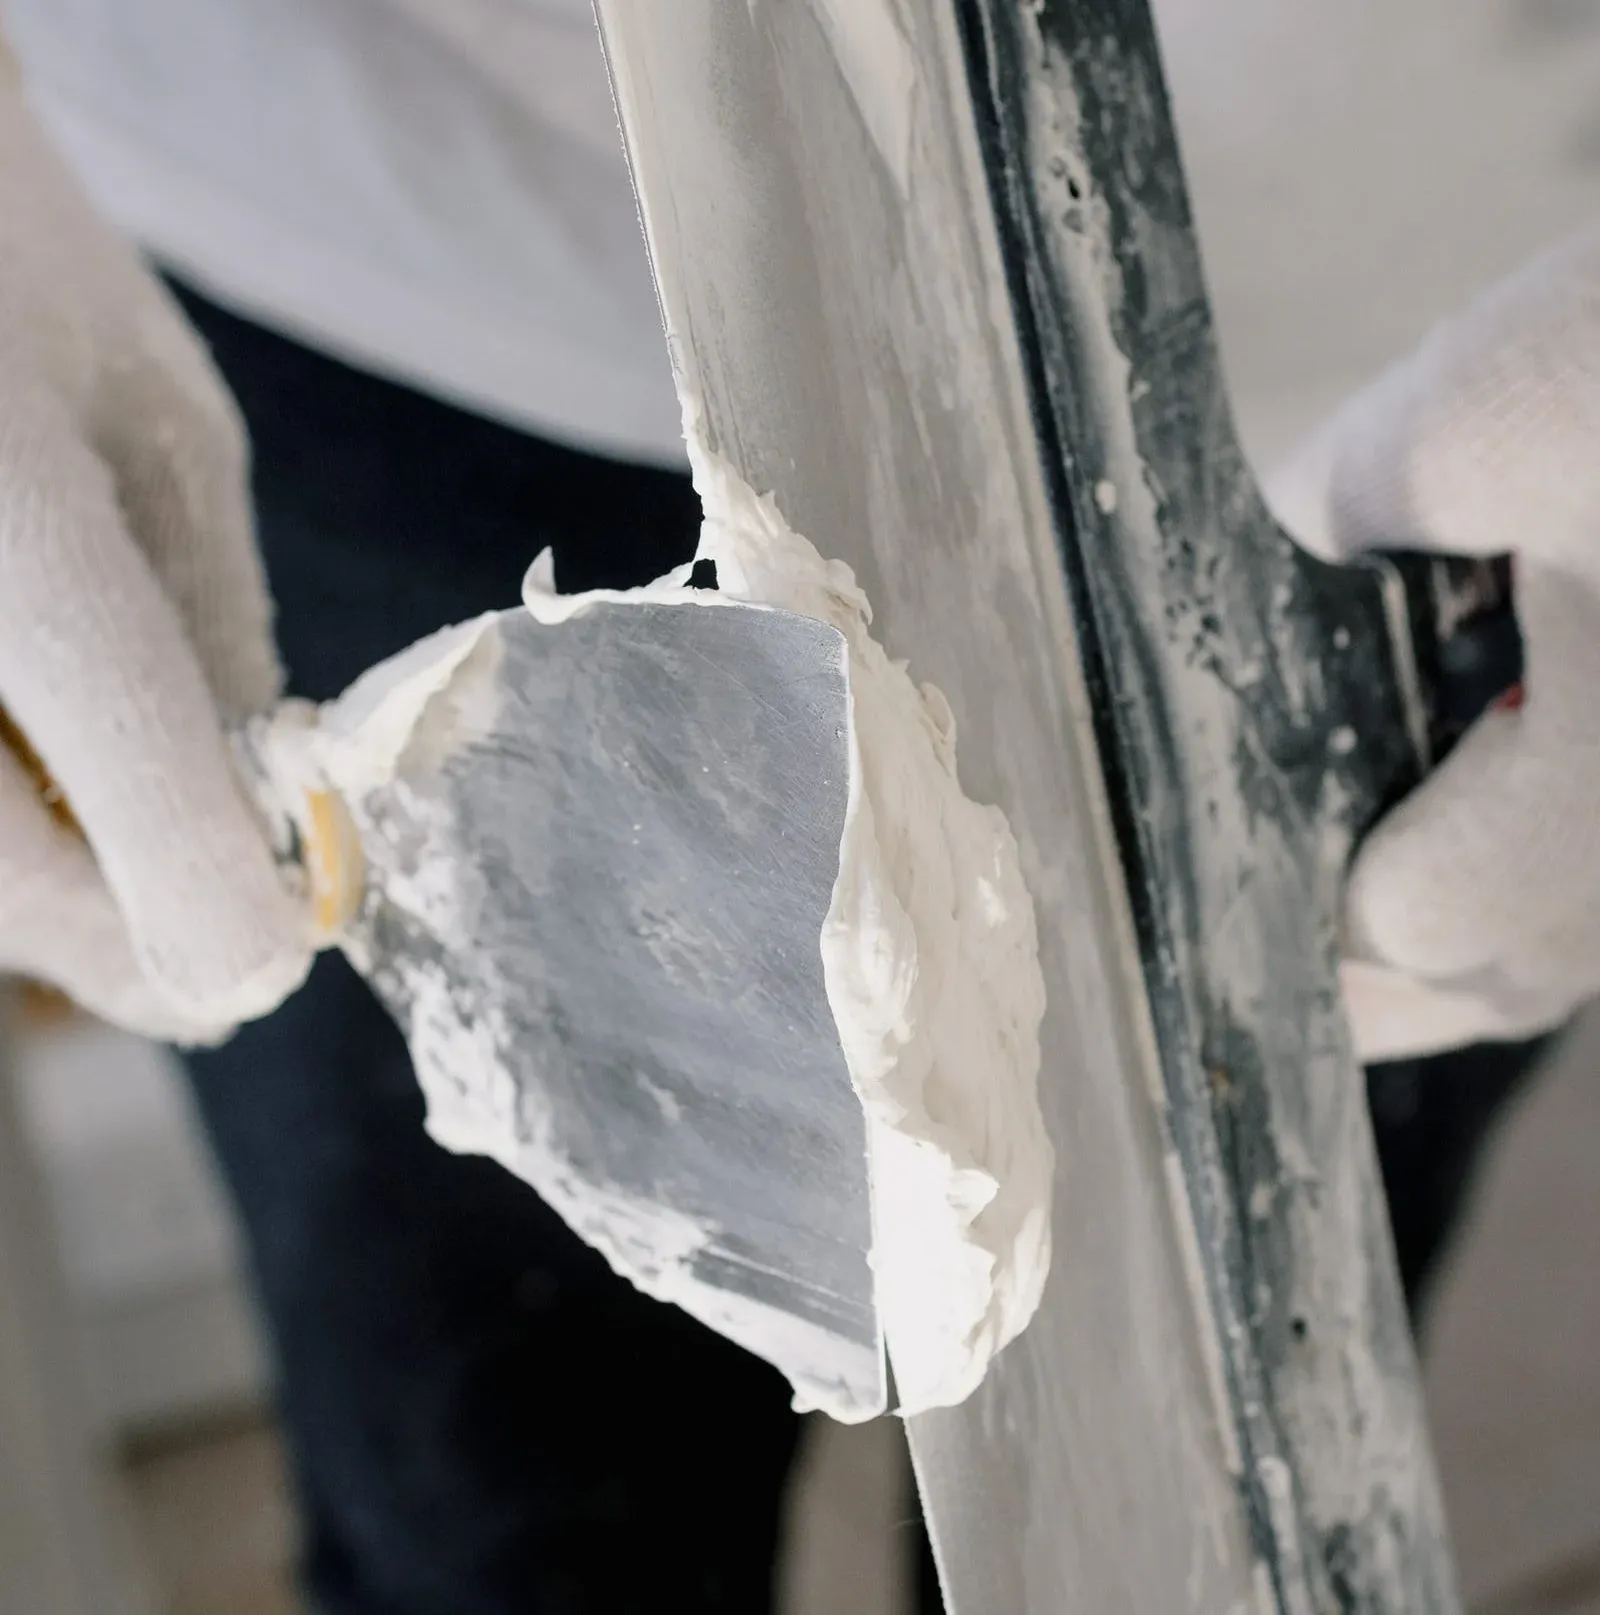
Step 2: Apply Joint Compound
With the crack prepared, the next step is to fill in cracks in drywall using a joint compound. For narrow cracks, a flexible putty knife can be used to press the compound into the crack, ensuring it's fully filled. For best results, apply the compound in thin layers, allowing each layer to dry thoroughly before applying the next.
Step 3: Sanding
Once the joint compound is dry, sand the area smooth with fine-grit sandpaper. The goal is to make the repaired area flush with the surrounding wall, ensuring a seamless finish.
Step 4: Priming and Painting
The final step in repairing cracks in drywall is to apply a primer over the patched area. Priming ensures the paint adheres evenly and helps conceal the repair. Once the primer is dry, paint the area to match the rest of the wall.
Tips for Success
Use a high-quality joint compound and primer to ensure the best adhesion and finish.
For larger cracks, consider using mesh tape to reinforce the area before applying the joint compound.
Patience is key—allow ample drying time between layers of the compound and before sanding, priming, and painting.
Preventing Future Cracks
Preventing future cracks involves addressing the underlying causes. Ensure your home's foundation is in good condition, control indoor humidity levels, and avoid hanging heavy objects without proper support. Regular inspections can help catch and address issues early before they lead to cracks.
Want to know more about drywall crack repair? Check out this detailed
guide.
Conclusion
Fixing cracks in drywall is a manageable DIY project that can restore the beauty of your walls with a bit of patience and the right approach. By following these detailed steps and recommendations, homeowners can effectively repair cracks in drywall, ensuring a smooth, seamless finish that stands the test of time.
Ready to work with Lusha Drywall Solutions?
Let's connect! We’re here to help.
Send us a message and we’ll be in touch.
Or give us a call today at 817-482-0231
Agency Contact Form
More Marketing Tips, Tricks & Tools